The Simulation with the “SimulationPlus” component: Difference between revisions
From Ameise-en
Jump to navigationJump to search
No edit summary |
No edit summary |
||
| Line 2: | Line 2: | ||
Below, you can see the | Below, you can see the interface of the component „SimulationPlus". The commands are chosen and combined from a list via mouse click and will be performed via “send command”. For any further information, please click on the image below. | ||
[[Image:Screenshot2_en.png|center|400px|thumb|You | [[Image:Screenshot2_en.png|center|400px|thumb|You can see the demo on the [[DemosTest|Demos]] page]] | ||
===Description=== | ===Description=== | ||
'''1. The | '''1. The Interface''' | ||
{| style="width:100%;padding-left:1em;" | {| style="width:100%;padding-left:1em;" | ||
|- | |- | ||
|The SimulationPlus component is an extension of the user | |The SimulationPlus component is an extension of the user interface. With this component, trainees don’t have to type every single command in a text box, they can easily select them by mouse click. These component will be briefly explained in the following text and images. | ||
[[Image:Simplus.png]] | [[Image:Simplus.png]] | ||
| Line 38: | Line 38: | ||
|There are two possibilities to advance the simulation time: | |There are two possibilities to advance the simulation time: | ||
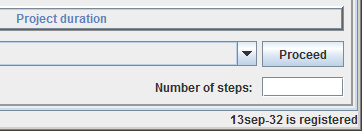
'''a) | '''a) Step in time by one day:''' To advance the simulation time by one day, click on the button «Proceed». | ||
{| style="width:100%;padding-left:1em;" | {| style="width:100%;padding-left:1em;" | ||
| Line 44: | Line 44: | ||
|[[Image:Simplus3.png]] | |[[Image:Simplus3.png]] | ||
|} | |} | ||
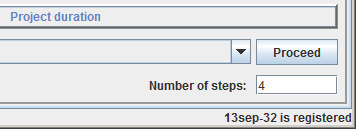
'''b) | '''b) Step in time by several days:''' To advance the simulation time by several days, enter the amount of steps (days) and then click on the Button «Proceed». | ||
{| style="width:100%;padding-left:1em;" | {| style="width:100%;padding-left:1em;" | ||
| Line 57: | Line 57: | ||
{| style="width:100%;padding-left:1em;" | {| style="width:100%;padding-left:1em;" | ||
|- | |- | ||
|The feedback from the simulator is shown in the simulation window. Examples of | |The feedback from the simulator is shown in the simulation window. Examples of feedback: | ||
{| style="width:100%;padding-left:1em;" | {| style="width:100%;padding-left:1em;" | ||
| Line 72: | Line 72: | ||
|} | |} | ||
* '''A developer | * '''A developer has finished his work:''' When a developer finishes his activity, also a feedback appears. In this example, the developer Axel has finished the specification. | ||
{| style="width:100%;padding-left:1em;" | {| style="width:100%;padding-left:1em;" | ||
Revision as of 18:15, 12 May 2013
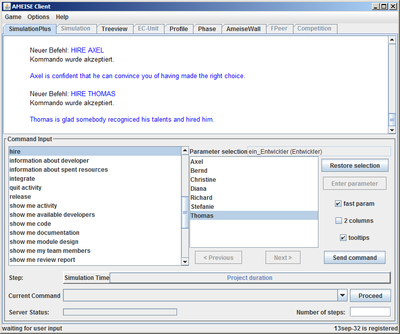
Below, you can see the interface of the component „SimulationPlus". The commands are chosen and combined from a list via mouse click and will be performed via “send command”. For any further information, please click on the image below.

Description
1. The Interface
| The SimulationPlus component is an extension of the user interface. With this component, trainees don’t have to type every single command in a text box, they can easily select them by mouse click. These component will be briefly explained in the following text and images. |
2. Entering Commands
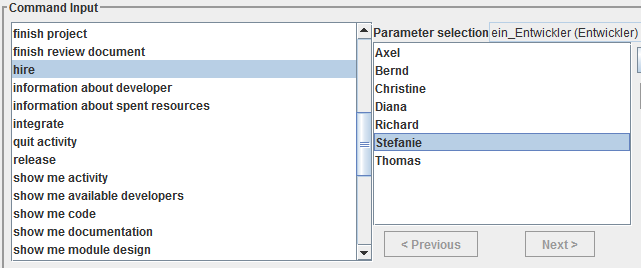
| Commands are selected by mouse click from a list of commands. In the following example, the command "hire Richard" is selected, that means, that the developer Richard will be hired.
After selecting a command, click on the button «Send command». |
3. Advancing the Simulation Time
4. Feedback from the Simulator
The feedback from the simulator is shown in the simulation window. Examples of feedback:
|


