Using the Advisor: Difference between revisions
From Ameise-en
Jump to navigationJump to search
No edit summary |
No edit summary |
||
| (One intermediate revision by one other user not shown) | |||
| Line 2: | Line 2: | ||
The following image shows the | The following image shows the user interface of the advisor component. You can find an animation explaining how to use the advisor component at our [[Special:ViewletDemos|Demos page]]. | ||
[[Image:Ratgeber_en.png|500px|thumb|center|The User Interface of the | [[Image:Ratgeber_en.png|500px|thumb|center|The User Interface of the Advisor Component]] | ||
== | == Description== | ||
'''1. Starting the | '''1. Starting the Advisor Component''' | ||
{| style="width:100%;padding-left:1em" | | {| style="width:100%;padding-left:1em" | | ||
|- | |- | ||
|To start the | |To start the advisor component, first click on the tab '''«EC-Unit»'''. | ||
[[Image:Ratg1_en.png|500px|thumb|center]] | [[Image:Ratg1_en.png|500px|thumb|center]] | ||
Then activate the tab '''«Explanation»''' to open the | Then activate the tab '''«Explanation»''' to open the advisor component. | ||
[[Image:Ratg2_en.png|500px|thumb|center]] | [[Image:Ratg2_en.png|500px|thumb|center]] | ||
| Line 26: | Line 26: | ||
'''2. The | '''2. The Advisor Component''' | ||
{| style="width:100%;padding-left:1em" | | {| style="width:100%;padding-left:1em" | | ||
|- | |- | ||
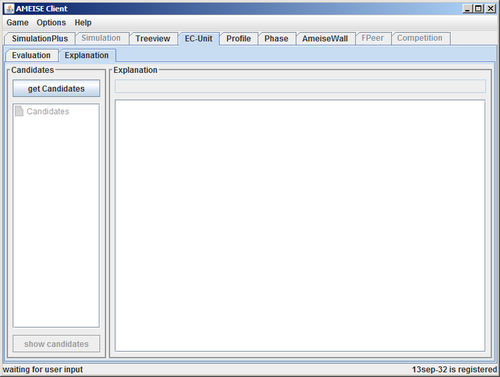
|The | |The advisor component is vertically divided into two parts. The left part contains the questionnaire, the right part shows the advice, which trainees will get from the system. | ||
[[Image:Ratg3_en.png|500px|thumb|center|]] | [[Image:Ratg3_en.png|500px|thumb|center|]] | ||
If you start the advisor for the first time, the questionnaire is always empty. | If you start the advisor for the first time, the questionnaire is always empty. Click on the button '''«get Candidates»''' to load the questions. Now, the options are listed. | ||
[[Image:Ratg4_en.png|500px|thumb|center|]] | [[Image:Ratg4_en.png|500px|thumb|center|]] | ||
| Line 46: | Line 46: | ||
{| style="width:100%;padding-left:1em" | | {| style="width:100%;padding-left:1em" | | ||
|- | |- | ||
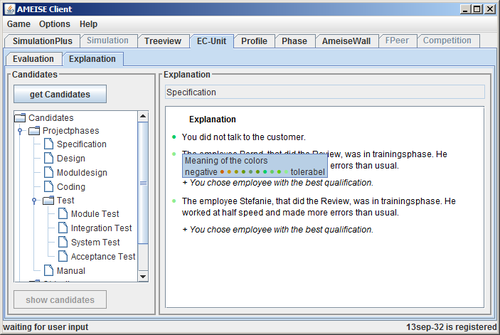
|Now you have to select one of the | |Now you have the opportunity to select one of the advice options, and after clicking the '''«show candidates»''' button, you will get the related advice. | ||
[[Image:Ratg5_en.png|500px|thumb|center]] | [[Image:Ratg5_en.png|500px|thumb|center]] | ||
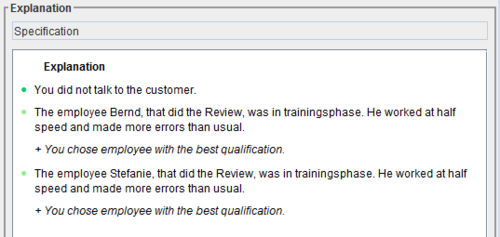
The next image shows some appropriate | The next image shows some appropriate advice examples: | ||
[[Image:Ratg6_en.png|500px|thumb|center]] | [[Image:Ratg6_en.png|500px|thumb|center]] | ||
| Line 58: | Line 58: | ||
'''4. | '''4. Deselection''' | ||
{| style="width:100%;padding-left:1em" | | {| style="width:100%;padding-left:1em" | | ||
Latest revision as of 14:22, 11 August 2013
The following image shows the user interface of the advisor component. You can find an animation explaining how to use the advisor component at our Demos page.

Description
1. Starting the Advisor Component
To start the advisor component, first click on the tab «EC-Unit».

 |
2. The Advisor Component
3. Selecting an Advice
4. Deselection
| Before you can select a new question from the questionnaire, you have to cancel the previous selected question. Therefore click on the button «Turn back». |


